Friday, July 22, 2011

Fear Factor--Garden Edition

I'll admit it. I'm afraid of our pressure canner.
It may have something to do with a story my grandmother used to tell about her pressure cooker exploding so she had to clean potatoes off of her ceiling for a week.

Or maybe it's the fear of the unknown.

All I know is that so far I've managed to preserve all kinds of food by freezing. That may come to an end very quickly.

The pressure canner we have used to be Rick's grandma's. It's probably over 50 years old. Last year Rick ordered new gaskets and such to make sure it's all in working order.

But I still haven't tried it.

I blanched and froze green beans this afternoon. I kept saying that I didn't want to heat up the house in this 100+ degree weather. I think I just didn't want green beans all over my ceiling.

Sunday, July 17, 2011

The Garden Party Dress!

UPDATE! I am entering this dress into the "Sew-vivor" competition at Family Ever After! This is one of my favorite dresses from Carla C, a.k.a. The Scientific Seamstress at You Can Make This! I love how the monogram came out, and it sets the dress off so nicely. Haleigh loves the little beaded charm. It's a favorite all the way 'round!
------------------------------------------------------------------------------------

I made this dress for Haleigh to wear this summer, now that summer is half over! The pattern is one of my favorites and I've made it several times over the years. It also has a sage green gingham peasant top to go under it, but it's been so hot that I let her wear the dress without the top.
Please ignore the cat that is weaving around her legs....!

The top has her monogram in pink. It adds a very special touch!

I made little pleats to gather the skirt to the bodice and for the ruffle at the bottom. I think the pleats are much easier than gathering by pulling a thread.

The pattern also calls for buttons and buttonholes to fasten the over-the-shoulder straps. Not being a fan of making buttonholes, I decided to use mitten clips. I may never make a buttonhole for this pattern again!

The other special detail is a charm with beads that is sewn into the top of the skirt. It's a little surprise detail--I think it's her favorite part of the dress!
The skirt is made of two coordinating fabrics. They're so close in color and design that you can't really see the strip piecing in a photograph. I do love the fabrics though. The dress has four different fabrics and the two skirt fabrics are the only fabrics from the same line. I bought them all at different times then realized they went together when I was searching through my stash looking for fabric to make a summer dress.
I'm linking at Teaching Good Things!

Saturday, June 4, 2011

A Rose by Any Other Name...

When we bought this house about eight years ago, this wasn't a rose bush, it was a rose TWIG! We had to put small little pieces of brick around it just so Rick could see it and not run it down when he was mowing the grass.

Look at it now....isn't it gorgeous!


Rick has really babied it. He uses all of the "old time" tricks for roses that he learned from his grandma. They've really worked! The only one I remember has to do with coffee grounds. Rick doesn't drink coffee, so I had to make the sacrifice and drink it so he could have the grounds to put around "his" rose. :-)


They're really beautiful.


Friday, June 3, 2011

BLT Anyone?!?

We're still having water issues in the garden. More rain has turned it to mud again. Here are a few photos to show you how it's progressing!

Here are the green beans and Uncle Gene beans.
They seem to be doing ok in spite of all the water.

Yeah, those tomatoes probably aren't going to make it. We have a few to try and replant, but it's just too muddy to get in there right now.

The lettuce and radishes are doing really well!
Rick thinned the radishes and we harvested our first crop of lettuce this week.

After a little bit of instruction, Brandie did a great job with the lettuce!
(I think she has a green thumb!)
She did 95% of this harvest on her own!
Way to go, Brand!


Pay no attention to her mis-matched ensemble. She picked out her own wardrobe today. :-)


Haleigh wanted to give it a try. She did a great job, too!


Haleigh's favorite part? EATING IT!!!
All it needed was some bacon, tomato, and toast. lol

We shared our lettuce with a my mom and dad, my sister's family, and a family from church. We'll probably be cutting more in a few days. You just can't beat something you've grown yourself!

I'll be linking this post to She Considers. Be sure to stop by Olivia's blog to see how everyone else's garden is coming along!

Tuesday, May 31, 2011

I Had a Silhouette SD Before Having a Silhouette SD was Cool

I'm writing this post specifically for Tip Junkie. She just got a Silhouette and is wondering what it can do.


It can do a lot. A whole lot.

What is a Silhouette? I call it an "industrial Cricut". Clear as mud? Does "a Cricut on steroids" sound any better?

Let me just show you a few of the many projects I've made with my Silhouette.


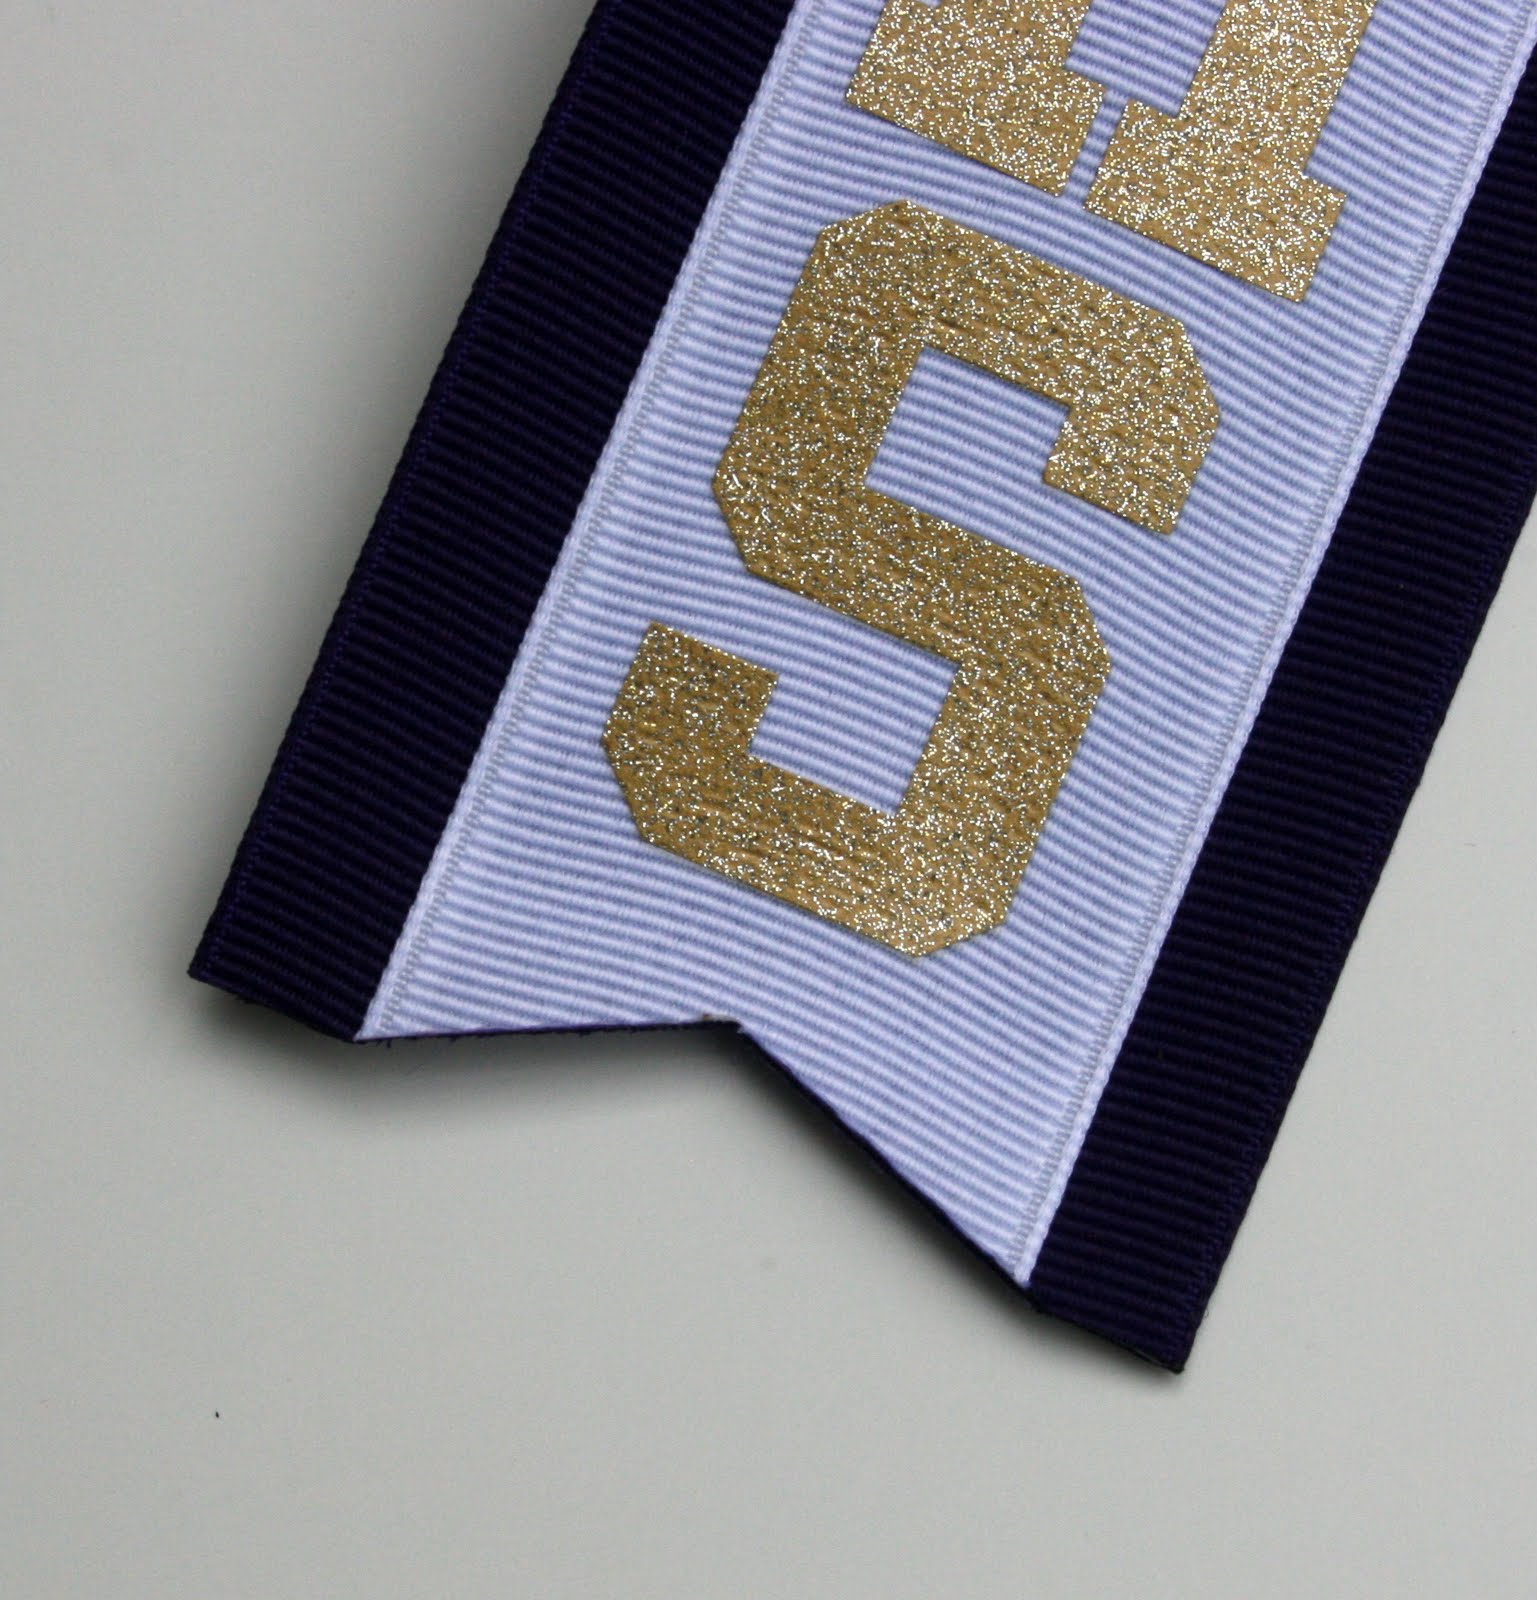
One of my favorite things to cut is iron-on vinyl--like the stuff you put on t-shirts. I did 35 of these cheerbows for a local high school's football cheerleaders. It's impossible to tell in this photo, but the dark ribbon is purple, white layered on top of that, then a gold metallic vinyl "SHS" on top. They were GORGEOUS if I do say so myself! More importantly, they loved them!
Below is a close-up of the vinyl ironed on to the white grosgrain ribbon.

Here's a fun one! Travel Tableware for Toddlers that are personalized with a name or an initial make great gifts. (By the way, you can find this at Jan's-n-Stitches.)

This rolling cooler has white iron-on vinyl. This was one of those tricky projects, but I thought it looked fabulous when finished!

So, what can a Silhouette do? The sky's really the limit. I love mine--it was a great investment!

Saturday, May 21, 2011

Garden--Version 2011

We've had a shaky start to our garden this year. We had the ground plowed up (doubling our growing space), then it started to rain. And rain. And rain some more.

The lettuce and radishes are in a semi-raised bed. The rain moved the seeds around and we lost quite a bit, but we'll replant lettuce when it cools off this fall.

Rick, Betty (his mom), and the girls have been helping to get the starts into the ground today. They're working on "Uncle Gene beans" here. Uncle Gene beans are like a black and white striped lima bean. I'm sure they have an official name, but that's what we call them because the seeds came from Rick's Uncle Gene! Makes sense, eh?

Brandie was getting really good at getting the bean starts planted.

Haleigh learns the fine art of making the hole.

We, well, Rick and the girls started seeds about six weeks ago in little cups and in some of those starter thingies you find this time of year. (I got them at a garage sale last year for $.25! Score!) They did really well.....until we couldn't get them into the ground because of the rain. Everything started looking a little leggy, but we think they'll all make it!

I'm linking to She Considers. Olivia is hosting "From 2011 Seeds to Harvest Garden Challenge". Go check out how everyone else is doing!

Friday, April 15, 2011

Dollar Store Birdbath

Spring is in the air....finally!
How do I know? Rick's already had to mow the lawn!

In honor of Spring, I made a cute little birdbath out of picnic-y items from Dollar General. The whole thing cost less than $7.00.

Here's how to make one of your very own!

What You'll Need
10" Large Bowl
8" Plate
10" Plate
Ceramic Vase
Another 10" Plate (not pictured)
Small Brick (not pictured)
E-6000 Glue or other industrial-strength adhesive


Start by placing your large bowl upside-down on a flat surface. Pick a place that's well-ventilated where you'll be able to leave it overnight without it being disturbed. I'm working in our garage. Run a line of glue along the bottom rim of the bowl.

Place your smaller plate (right side up!) on top of the bowl. Get it as centered as you can.

Put your larger plate right side DOWN on your flat surface. Along the top of the ceramic vase you'll run some glue. Carefully center your vase on the bottom of the plate.


                                                   Let the 2 parts sit overnight. 


The next day you can glue the bottom of the vase to the top of the smaller plate. Let that sit overnight, too.

This isn't pictured, but I thought the birdbath was too light when it was finished, and I was afraid the wind would keep blowing it over.

To make it heavier I turned the entire thing upside down, placed a piece of broken brick in the bowl, and E-6000ed the second 10" plate onto the rim of the bowl.

After it dried, the brick was secure in the bowl, and the entire birdbath has a good weight on the bottom.

I'm linking at....
Lovely Crafty Home


Monday, September 6, 2010

Solar Luminaries: "Look, Ma! No Flames!"


I made this safer-than-a-candle-when-you-have-kids-and-cats SOLAR luminary in less than one hour! It's embarassingly easy, so let's get started!

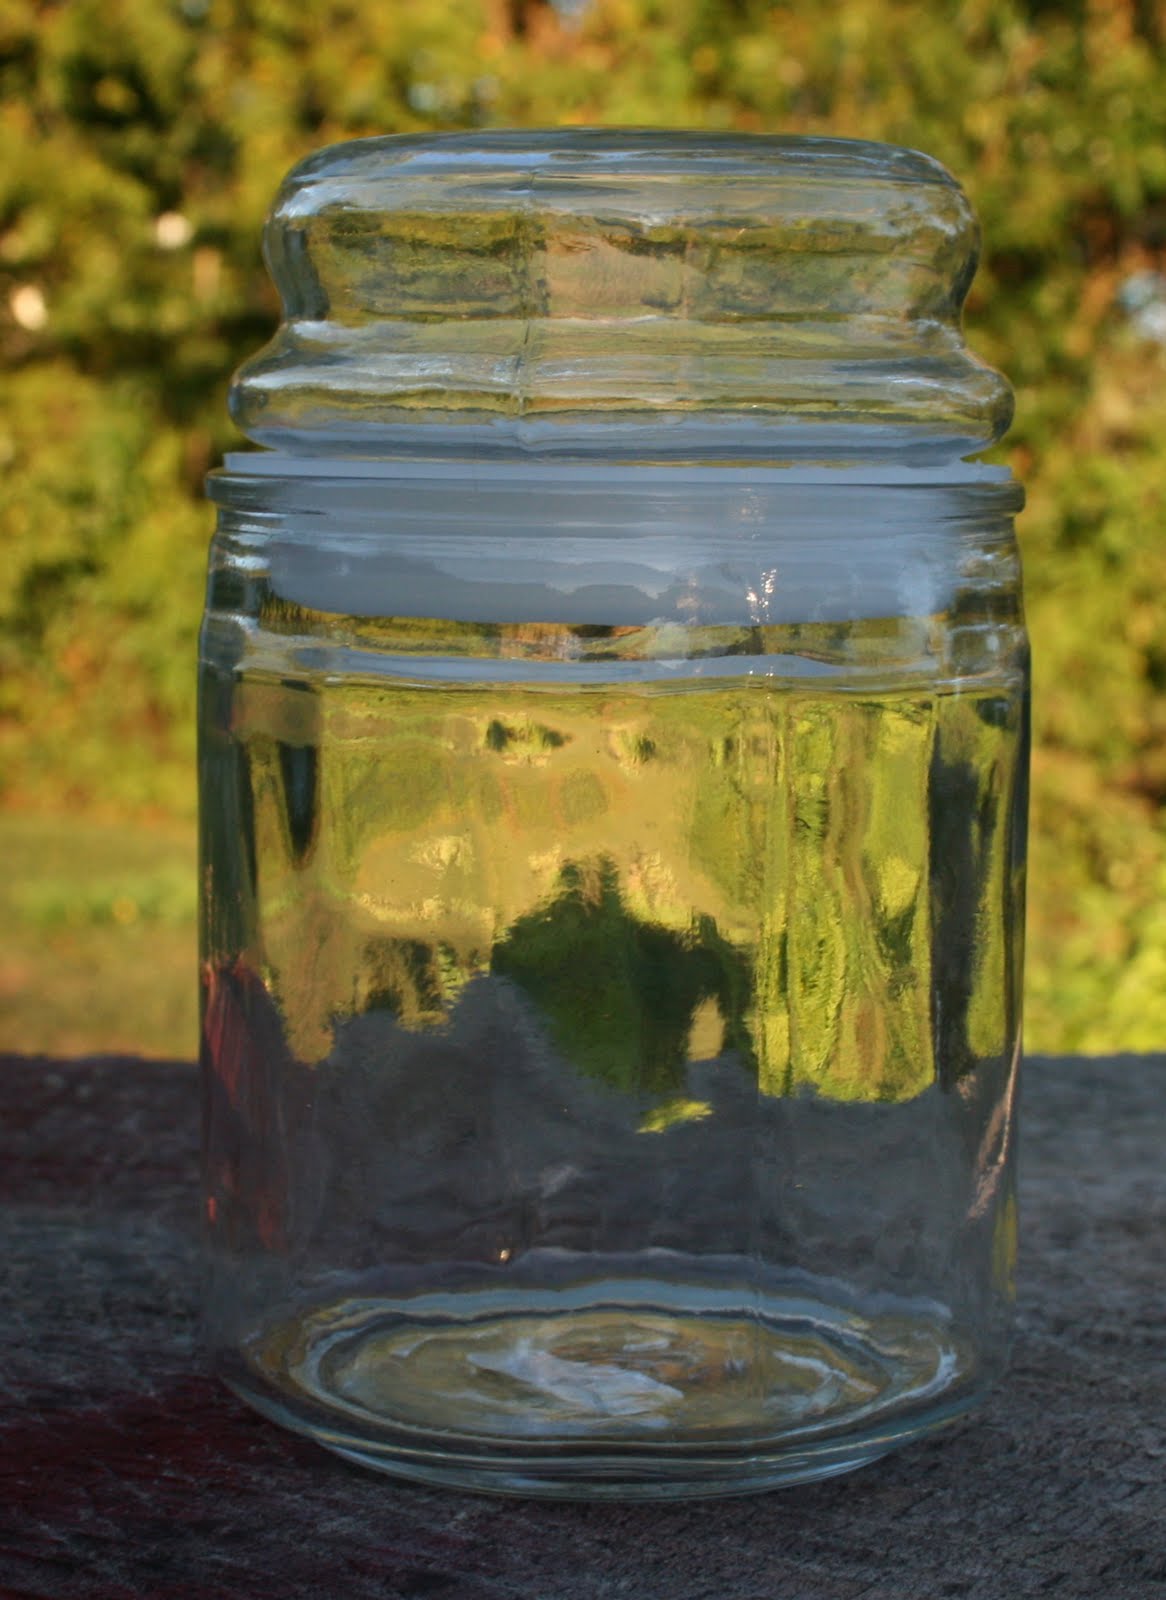
I picked up this plain candy-type jar at one of those warehouse crafty stores. I think it was The Flower Factory in Greenwood, Indiana. You can find them in just about any craft store. If you can't locate one, any jar will work!
Can I just say again how much I love this glass-etching spray paint? (I also used in in this project.) Give it a good coat and let it dry for 15 minutes or so before you decide if it needs more.

By the way, the etching appears as the spray dries. I'd forgotten that bit of information and kept spraying and spraying, waiting for the frosting to appear. In the meantime, the paint was running and dripping on the inside. The great thing about this "paint" is that you can't see the runs and drips when it's dry! Love that!


Here's the jar after it has dried. The picture of the lid is right after I'd sprayed it. See the difference?


This is one of those solar light stakes that you can get from just about any lawn and garden department. This smallish one was just $3.

The bottom stake just twists off, leaving you with the light.

By the way, if you want to try this project out the day you make it, it's a good idea to put the light out in the sun that morning.

Ask me how I know.


Put a small amount of floral clay in the bottom of the jar to hold the light in place. Play-Doh might work if you have some of that. It would harden and make a sturdy base. Whatever you decide to use, make sure it's deep enough to keep the light upright.


Put your light in the jar and replace the lid. Wait for dark and think about how totally cool this little light is!

These would be great for a garden, on your porch, or as luminaries lining your sidewalk at Christmas!

I was thinking of putting one in the bathroom to use as a nightlight, but I'd have to take it outside every day for a sunlight recharge. That's way too much work for me. Just keepin' it real.

I think the next one I make is going to be with a half-gallon canning jar I've been saving for a project like this. Star stickers added prior to spraying the jar might make a nice effect! Or maybe I'll use the Silhouette and cut a monogram out of vinyl!

If you make one, be sure to leave the link in the comments. I'd love to see what you come up with!

I'm linking here:


BCD


Make it Yours @ My Backyard Eden