Showing posts with label Thrifty. Show all posts

Saturday, June 30, 2012

Save Money by Oven Canning Dry Goods


Back in February, I was asked to do a demonstration on making laundry soap at a friend's church for their woman's group. The theme for the evening was frugality--saving money. (The soap demo went well--I did the Ivory soap in the microwave thing. If you've never tried that, you need to! Your kids will love it!)

But I digress. :-)

That night, my friend, Ruth, passed out copies of a magazine article about canning dry goods in your oven. I call it Dry Canning. I made sure to keep this little treasure because I could see how you could save quite a bit by buying things at an exceptionally good price and keep it stored without fear of spoilage--or the little creepy crawlies that like to invade things like flour and cornmeal.

Here are the basic instructions for Dry Canning:

--Use clean jars, of course.
--Fill the jars, leaving about .5 inch headspace.
--Heat the oven to 200 degrees.
--Put the jars on a cookie sheet/s, Fill it up as much as you can.
--Go do something fun for an hour. Read a book. Paint your nails. Save the world.
--After an hour, take the jars out one at a time. Working quickly, wipe the rims with a damp cloth. Put the lid and the ring on the jar, and tighten. Place on a towel or cooling rack.
--The jars will seal, but I've never heard them "ping". However, the lids do not pop up--they just don't seal quick enough to make a noise.

When they're cool, write the name and date on the lid with a permanent marker. I also put any directions like to make rice you mix one part rice, two parts water, then boil for 15 minutes covered. Make up your own shorthand that makes sense to you.

Store them in a dry place that doesn't usually get over 75 degrees.

That's all you have to do! According to the magazine article, these will last for 20-30 YEARS!

What can you can in the oven?
--Flours
--Cornmeal
--Rice
--Beans
--Pasta
--Dried onions
--Oatmeal
--Box cereals
--Potato flakes
--Dried vegetables

You can even dry can almonds and pecans. Walnuts will not keep because of the amount of oil in them.

I've wondered if you could can popcorn, but haven't tried it yet. :-) I may also try dried milk--I use it for cooking.

So, how did this work in my little world?

It just so happened that I had a dozen half-gallon canning jars in the garage--still shrink-wrapped. I got them from a woman who was moving out of state and just wanted things gone.

I bought a 25-pound bag of flour at Sam's Club for $7.49. It filled 9 of the half-gallon jars, plus topped off my canister.

Breaking it down into 5-pound increments (which is how I'd usually buy flour) makes each $1.50. A five-pound bag of flour at Sav-a-Lot is $1.99. You can probably find it for less if you're good at couponing and watching for sales. This also doesn't take into account the cost of the jars or the membership price for Sam's Club, but that's not really the point today. Just get dry goods at the best price you can, stock up, and then protect them from spoiling.

If you have to go out and buy jars new at the store, you probably won't realize much savings--especially at first. However, if you have jars, or access to jars, or can find them at yard sales, you'll feel less pinch in your pocketbook when you get started.

Keep in mind that the prices of items are always rising. If you can buy a good supply at a good price, it's like locking that price in for the future.

I also like knowing that I have a few reserves of things we use all the time. They aren't taking up freezer space (I previously kept extra flour in the freezer.), and I don't have to worry about tasting freezer burn or a power outage.

If you'd happen to have a jar that doesn't seal, just put it in your pantry and use it. You may be able to can it again, although I haven't had to try it yet.

Leave a comment if you have a question. I'd love to hear how it works for you, too!

This week I'm linking at....

Tip Junkie handmade projects Somewhat Simple The Shabby Nest
Blissful and Domestic

Monday, September 6, 2010

Solar Luminaries: "Look, Ma! No Flames!"


I made this safer-than-a-candle-when-you-have-kids-and-cats SOLAR luminary in less than one hour! It's embarassingly easy, so let's get started!

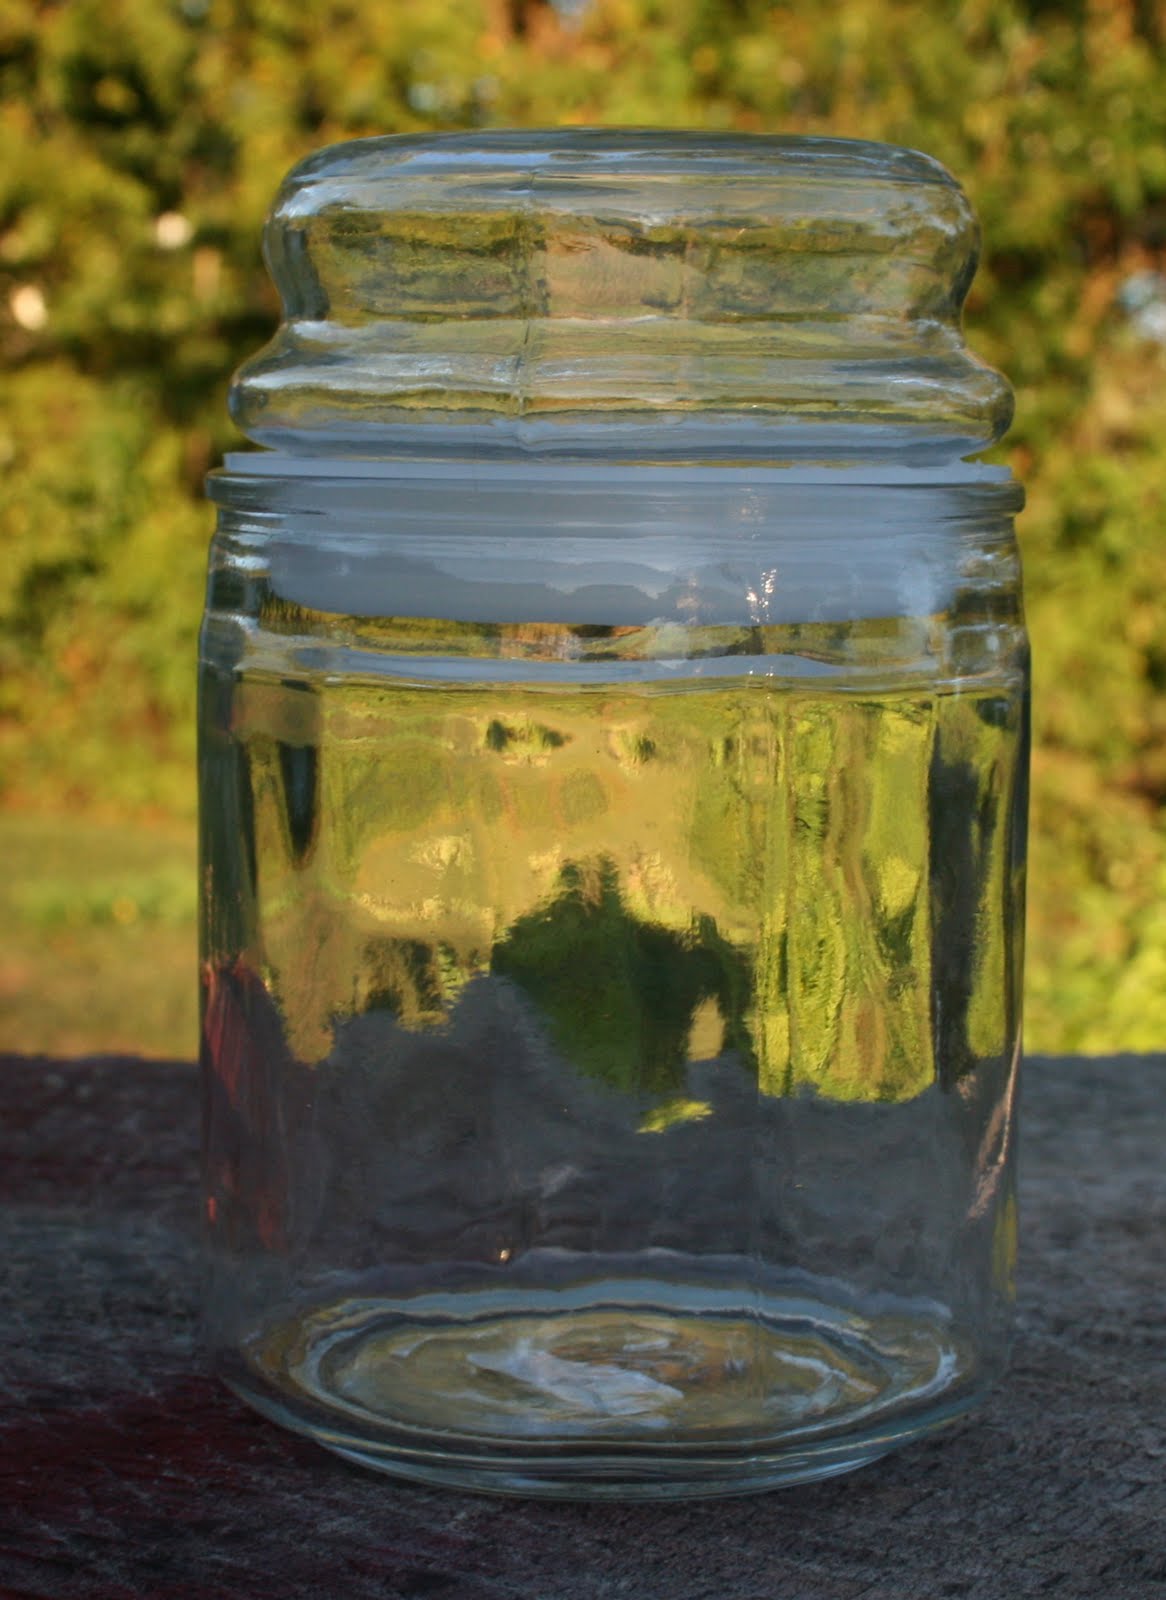
I picked up this plain candy-type jar at one of those warehouse crafty stores. I think it was The Flower Factory in Greenwood, Indiana. You can find them in just about any craft store. If you can't locate one, any jar will work!
Can I just say again how much I love this glass-etching spray paint? (I also used in in this project.) Give it a good coat and let it dry for 15 minutes or so before you decide if it needs more.

By the way, the etching appears as the spray dries. I'd forgotten that bit of information and kept spraying and spraying, waiting for the frosting to appear. In the meantime, the paint was running and dripping on the inside. The great thing about this "paint" is that you can't see the runs and drips when it's dry! Love that!


Here's the jar after it has dried. The picture of the lid is right after I'd sprayed it. See the difference?


This is one of those solar light stakes that you can get from just about any lawn and garden department. This smallish one was just $3.

The bottom stake just twists off, leaving you with the light.

By the way, if you want to try this project out the day you make it, it's a good idea to put the light out in the sun that morning.

Ask me how I know.


Put a small amount of floral clay in the bottom of the jar to hold the light in place. Play-Doh might work if you have some of that. It would harden and make a sturdy base. Whatever you decide to use, make sure it's deep enough to keep the light upright.


Put your light in the jar and replace the lid. Wait for dark and think about how totally cool this little light is!

These would be great for a garden, on your porch, or as luminaries lining your sidewalk at Christmas!

I was thinking of putting one in the bathroom to use as a nightlight, but I'd have to take it outside every day for a sunlight recharge. That's way too much work for me. Just keepin' it real.

I think the next one I make is going to be with a half-gallon canning jar I've been saving for a project like this. Star stickers added prior to spraying the jar might make a nice effect! Or maybe I'll use the Silhouette and cut a monogram out of vinyl!

If you make one, be sure to leave the link in the comments. I'd love to see what you come up with!

I'm linking here:


BCD


Make it Yours @ My Backyard Eden


Wednesday, September 1, 2010

Vintage Pattern SCORE!

I stopped in to a new-to-me thrift store the other day and--SCORE!!! Vintage patterns for $.29 each!
All of these patterns once belonged to "Ethel", and she wrote her name on each one.

I would have liked to have known Ethel. I think we could have been sewing buddies.

These three patterns for girls' dresses are classic styles, and the Stretch-and-Sew patterns are easily altered.

(By the way, I know these photos aren't the greatest. It's one of my Pet Peeves when, on Ebay or Etsy, sellers don't SCAN their patterns instead of photographing them. Well, I couldn't scan anything right now even if I really wanted to!)

Ahem....


These t-shirts and knit sweaters are also classic in style.


Swimsuits, anyone? What little girl wouldn't look adorable in one of these vintage, yet stylish, suits?


Of the little dresses, this one is tops! The peasant style is back in....style! Stretch-and-Sew patterns were meant to be sewn out of knit fabrics. However, I think I could make this one in a woven and it would still work just fine. I can't wait to try it!


However, this one made the stop all worthwile! I love, love, love these vintage pajamas. The date on the envelope is 1970, and the style just screams "Brady Bunch" at me. I would have been six years old then. Maybe that's why I love this so much--nostalgia.

The sizes range from 4-6 up to 12-14. Again, it's classic! I'm thinking about lengthening the hem and making these for my girls for Christmas--maybe out of a groovy flannel. Or maybe not!