Saturday, May 21, 2011

Garden--Version 2011

We've had a shaky start to our garden this year. We had the ground plowed up (doubling our growing space), then it started to rain. And rain. And rain some more.

The lettuce and radishes are in a semi-raised bed. The rain moved the seeds around and we lost quite a bit, but we'll replant lettuce when it cools off this fall.

Rick, Betty (his mom), and the girls have been helping to get the starts into the ground today. They're working on "Uncle Gene beans" here. Uncle Gene beans are like a black and white striped lima bean. I'm sure they have an official name, but that's what we call them because the seeds came from Rick's Uncle Gene! Makes sense, eh?

Brandie was getting really good at getting the bean starts planted.

Haleigh learns the fine art of making the hole.

We, well, Rick and the girls started seeds about six weeks ago in little cups and in some of those starter thingies you find this time of year. (I got them at a garage sale last year for $.25! Score!) They did really well.....until we couldn't get them into the ground because of the rain. Everything started looking a little leggy, but we think they'll all make it!

I'm linking to She Considers. Olivia is hosting "From 2011 Seeds to Harvest Garden Challenge". Go check out how everyone else is doing!

Friday, April 15, 2011

Dollar Store Birdbath

Spring is in the air....finally!
How do I know? Rick's already had to mow the lawn!

In honor of Spring, I made a cute little birdbath out of picnic-y items from Dollar General. The whole thing cost less than $7.00.

Here's how to make one of your very own!

What You'll Need
10" Large Bowl
8" Plate
10" Plate
Ceramic Vase
Another 10" Plate (not pictured)
Small Brick (not pictured)
E-6000 Glue or other industrial-strength adhesive


Start by placing your large bowl upside-down on a flat surface. Pick a place that's well-ventilated where you'll be able to leave it overnight without it being disturbed. I'm working in our garage. Run a line of glue along the bottom rim of the bowl.

Place your smaller plate (right side up!) on top of the bowl. Get it as centered as you can.

Put your larger plate right side DOWN on your flat surface. Along the top of the ceramic vase you'll run some glue. Carefully center your vase on the bottom of the plate.


                                                   Let the 2 parts sit overnight. 


The next day you can glue the bottom of the vase to the top of the smaller plate. Let that sit overnight, too.

This isn't pictured, but I thought the birdbath was too light when it was finished, and I was afraid the wind would keep blowing it over.

To make it heavier I turned the entire thing upside down, placed a piece of broken brick in the bowl, and E-6000ed the second 10" plate onto the rim of the bowl.

After it dried, the brick was secure in the bowl, and the entire birdbath has a good weight on the bottom.

I'm linking at....
Lovely Crafty Home


Monday, September 6, 2010

Solar Luminaries: "Look, Ma! No Flames!"


I made this safer-than-a-candle-when-you-have-kids-and-cats SOLAR luminary in less than one hour! It's embarassingly easy, so let's get started!

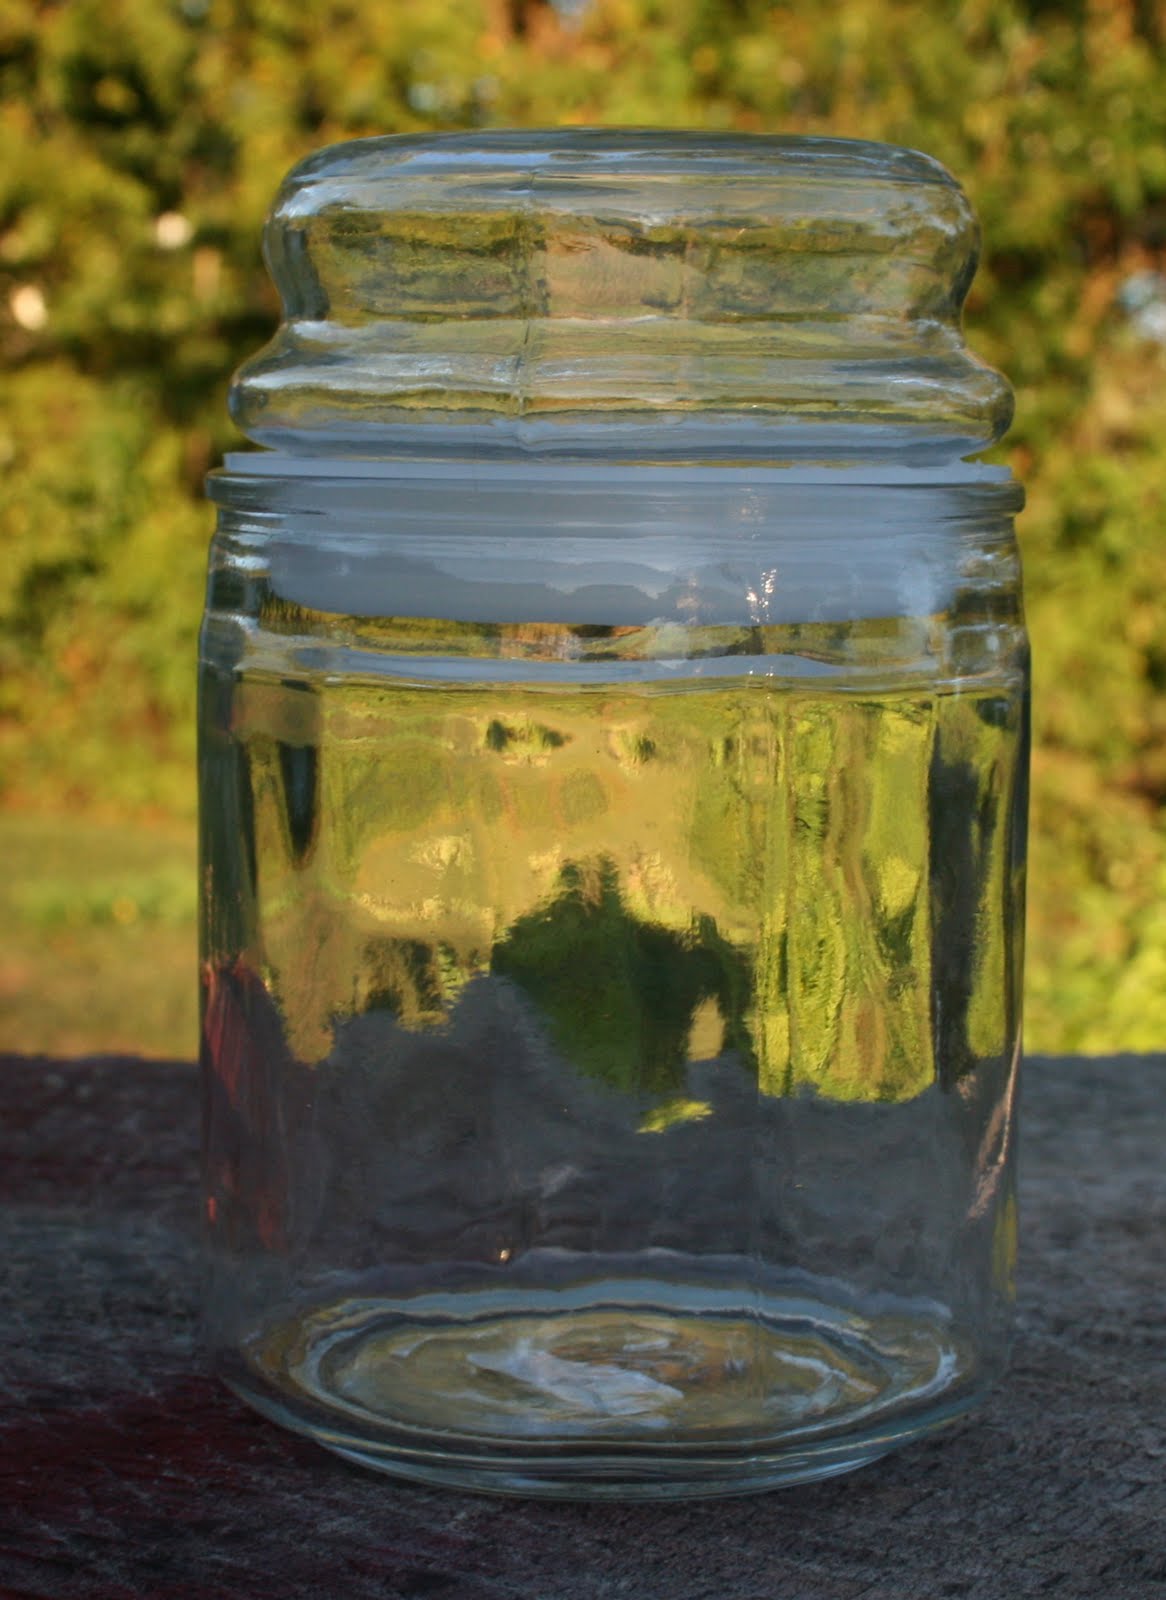
I picked up this plain candy-type jar at one of those warehouse crafty stores. I think it was The Flower Factory in Greenwood, Indiana. You can find them in just about any craft store. If you can't locate one, any jar will work!
Can I just say again how much I love this glass-etching spray paint? (I also used in in this project.) Give it a good coat and let it dry for 15 minutes or so before you decide if it needs more.

By the way, the etching appears as the spray dries. I'd forgotten that bit of information and kept spraying and spraying, waiting for the frosting to appear. In the meantime, the paint was running and dripping on the inside. The great thing about this "paint" is that you can't see the runs and drips when it's dry! Love that!


Here's the jar after it has dried. The picture of the lid is right after I'd sprayed it. See the difference?


This is one of those solar light stakes that you can get from just about any lawn and garden department. This smallish one was just $3.

The bottom stake just twists off, leaving you with the light.

By the way, if you want to try this project out the day you make it, it's a good idea to put the light out in the sun that morning.

Ask me how I know.


Put a small amount of floral clay in the bottom of the jar to hold the light in place. Play-Doh might work if you have some of that. It would harden and make a sturdy base. Whatever you decide to use, make sure it's deep enough to keep the light upright.


Put your light in the jar and replace the lid. Wait for dark and think about how totally cool this little light is!

These would be great for a garden, on your porch, or as luminaries lining your sidewalk at Christmas!

I was thinking of putting one in the bathroom to use as a nightlight, but I'd have to take it outside every day for a sunlight recharge. That's way too much work for me. Just keepin' it real.

I think the next one I make is going to be with a half-gallon canning jar I've been saving for a project like this. Star stickers added prior to spraying the jar might make a nice effect! Or maybe I'll use the Silhouette and cut a monogram out of vinyl!

If you make one, be sure to leave the link in the comments. I'd love to see what you come up with!

I'm linking here:


BCD


Make it Yours @ My Backyard Eden


Wednesday, September 1, 2010

Vintage Pattern SCORE!

I stopped in to a new-to-me thrift store the other day and--SCORE!!! Vintage patterns for $.29 each!
All of these patterns once belonged to "Ethel", and she wrote her name on each one.

I would have liked to have known Ethel. I think we could have been sewing buddies.

These three patterns for girls' dresses are classic styles, and the Stretch-and-Sew patterns are easily altered.

(By the way, I know these photos aren't the greatest. It's one of my Pet Peeves when, on Ebay or Etsy, sellers don't SCAN their patterns instead of photographing them. Well, I couldn't scan anything right now even if I really wanted to!)

Ahem....


These t-shirts and knit sweaters are also classic in style.


Swimsuits, anyone? What little girl wouldn't look adorable in one of these vintage, yet stylish, suits?


Of the little dresses, this one is tops! The peasant style is back in....style! Stretch-and-Sew patterns were meant to be sewn out of knit fabrics. However, I think I could make this one in a woven and it would still work just fine. I can't wait to try it!


However, this one made the stop all worthwile! I love, love, love these vintage pajamas. The date on the envelope is 1970, and the style just screams "Brady Bunch" at me. I would have been six years old then. Maybe that's why I love this so much--nostalgia.

The sizes range from 4-6 up to 12-14. Again, it's classic! I'm thinking about lengthening the hem and making these for my girls for Christmas--maybe out of a groovy flannel. Or maybe not!

Monday, August 30, 2010

Sunday, August 29, 2010

Boutique Burp Cloths--Who Knew Burping Could Be So Stylish?!?

I've been sewing up some cute burp cloths for baby gifts. Some were to coordinate with the blanket and taggie that I made for Miss Leah.

I was kind of "winging it" when it came to putting these together so there aren't concrete directions--rather suggestions of ways to get started making your own.
This one used a yellow diaper from Gerber. They're a little extra in price, but make a cute burp cloth.

First you start with a regular, pre-folded, cloth diaper. I like the larger size, just because they're easier to fold and protect more shirt in the shoulder area. HOWEVER...I recently discovered something that LOOKS like prefolded diapers, it even SAYS it's diapers.....BUT it's in the auto department near the car wax!

Yep! It's diapers for detailing your car!

I found these at Target for just over $7 for 6 of them.That was less than the comparable baby diaper. When I pre-washed them, they shrank less and stayed more square--less wonky out of the dryer. I like that!

So, get a diaper, or get something to detail your car, but decide on what you want to use for your "base". You can even use flannel or any other soft fabric. I like the diapers because they are absorbant--that's what they're made for!

So, measure the the thicker area of the diaper--the part where it has the most layers. Mine was about 5x14". Cut a piece of your center fabric (I like to use thinner, soft towels; microfiber towels; flannel; or minky) about one inch larger, so 6x15" in my case. Turn under about 1/2" on the long side and give it a quick press. Center it over the thick part of the diaper and stitch it down. Use a straight stitch. Use a zig-zag. Use whatever you like. It will be fine. Trust me on this!

Now you have about 1/2" overhang at the top and to bottom. At the top, cut your center fabric even with the diaper and just give it a quick zig-zag to attach it.

At the bottom I like to add a little extra detail, just to make it all so special.

Cut a piece of coordinating cotton that's 1" longer than the width of your diaper by about 6". In my case, the diaper was 14" wide, so my fabric was 6x15".

Also cut a piece of an accent fabric that's the same width (15" for me) by about 2". This will be the little strip at the top of the big strip. Are you with me so far? (Sorry I don't have a photo of each step!)

(On a separate note, I like to make strips of various lengths and widths just to keep on hand. Some I run through the ruffler, and some I just fold in half and press. I hang them all over a hanger and keep nearby so I'm not constantly stopping to cut and/or ruffle pieces for accents.)

So, center the long side of the fabric over the bottom of the diaper with the wrong sides together. Sew about 1/2" from the edge, across the bottom.

Flip the fabric to the right side. Now your right sides should both be facing out!


Sewing the accent fabric to the main fabric at the bottom.

Line up the accent strip with the coordinating strip.
Using 1/4" seam allowance, attach the accent strip. Turn the seam allowance to the wrong side and press.

Now you have a nice little edging at the bottom of the burp cloth, but you need to sew it down!

Press the strips up towards the center fabric on the front.

On the left and the right edges, turn under 1/4" and sew close to the edge, tacking it down. Do the same across the accent fabrics. You can stitch them both down, or just one. Stitch in the ditch, or do a topstitch.

The choice is up to you!

Sewing down the sides, before going across the top of the accent fabrics.


Ta-Da! This one is finished!


Next up: Baby burp cloth with a minky center!

Saturday, August 28, 2010

Oh, the Expo!

I spent today at the American Sewing Guild Expo that was held in Indianapolis! What a great, informatinve time!

First of all, I got to see the Babylock Enterprise in action. Wow! I think it was the highlight of my day! The MSRP on this 10-needle machine is $15,000.00. Yep, you read that right! HOWEVER, it IS on sale for $12,999.00. That's $13,000 in my book. A very cool embroidery machine nonetheless. Hope to try one out soon!

I'd love to buy each and every embroidery CD from Kathy Harrison at Custom Keepsakes! She does Victoran lace and embroidery, along with in-the-hoop clothing patterns for dolls and children. All of her work is exquisite! I can see me working on something like this every single day. The heirloom baby christening/dedication gowns are stunning! The photos do not do them justice.

I already have pattern drafting software from Wild Ginger. However, it's great to have a fact to put with a product. Mariette is a joy to talk with and really knows her stuff. I can forsee working with her Users Groups and really using this software to it's potential!

The class called "Running with Scissors" by Pam Damour was very informative, yet entertaining! She knows so much about the home decor business that she's written a book and has pattented several templates and rulers. I should have bought her book while I was there. Guess I'll have to order it online! I'd never even heard of buttonhole scissors, not to mention that I'd never tried them out! She's a wealth of information that isn't to be missed.

I met many interesting people, learned many new techniques, and saw many interesting new products. If they have this again next year, I'm definitely going! Save me a spot! 

Tuesday, August 24, 2010

Super Soft Minky Baby Blanket--With a Suprise!


I made this super-soft minky blanket with an elephant applique for Miss Leah. It matches the Crinkle Toy I posted about here.

Here's how to make your own!

Cut two pieces of your blanket fabric that are the same size. Mine was 40x45".

For the applique I cut a cute elephant from the minky scraps. The piece was 3.5x5" when it was all trimmed up.
I wanted to add the ruffle since Leah is a girl and the blanket isn't very feminine. I tried just pinning the ruffle to the minky, but the minky was way too soft and stretchy. I solved that problem by zig-zagging it to a piece of woven cotton to stabilize it.


There isn't a picture for the next part. I get so excited that I forget to take pictures!

Cut a piece of coordinating cotton fabric 4x45". Fold it in half lengthwise and iron it well. I used my ruffler foot to make pleats in the fabric, but you could use a long stitch length and gather it along the cut edge.


Pin the ruffle, starting at the bottom center, to the outside edge of the applique. Fold the beginning and ending ends down, tapering them, and rounding at the corners. Stitch along the gathering lines to baste the ruffle to the applique.


Trim away your stabilizing fabric. Turn your ruffle to the outside, turning the seam allowance under at the same time.

Once again, I forgot to take a picture!

Pick the spot for the applique. I put mine near the bottom right corner. Pin it in place with he seam allowance tucked under. Topstitch about 1/8" from the edge of the minky,catching the ruffle's seam allowance on the backside.

All that's left is to assemble your blanket!

Put the blanket's right sides together. Using 1/2" seam allowance, sew all the way around, leaving about 5" on one side to turn.

Clip the corners and turn the blanket right side out.

Turn the edges of the opening under and pin it closed. Beginning in one corner, topstitch 1/4" all the way around, catching the fabric at the opening so it's sewn closed. This is a great time to experiment with the decorative stitches on your machine! I used a scallop stitch on this blanket.

Admire your work!

Front

Back

Minky can be tricky to work with because it's slippery and can "walk" when you try to sew it. PIN, PIN, PIN!  Although I've not tried it, a walking foot may help if this is a problem for you.

Even though it's tricky, it can be forgiving also. If you get a little tuck here and there it won't show in the finished blanket. Little things like that are hidden by the pile of the fabric.

Minky isn't the only fabric that's great for a blanket like this! Try combinations of fleece, satin, and flannel.

For an extra-girly blanket, put a large ruffle around the outside edge! Use the same coordinating fabric as you used for the applique to tie it all in together. Satin also makes a great ruffle or you can purchase pre-ruffled satins at fabric stores.

I'd love to see a picture if you make one of your own!


giveaways
I'm linking here!


Beyond The Picket Fence