I made this safer-than-a-candle-when-you-have-kids-and-cats SOLAR luminary in less than one hour! It's embarassingly easy, so let's get started!
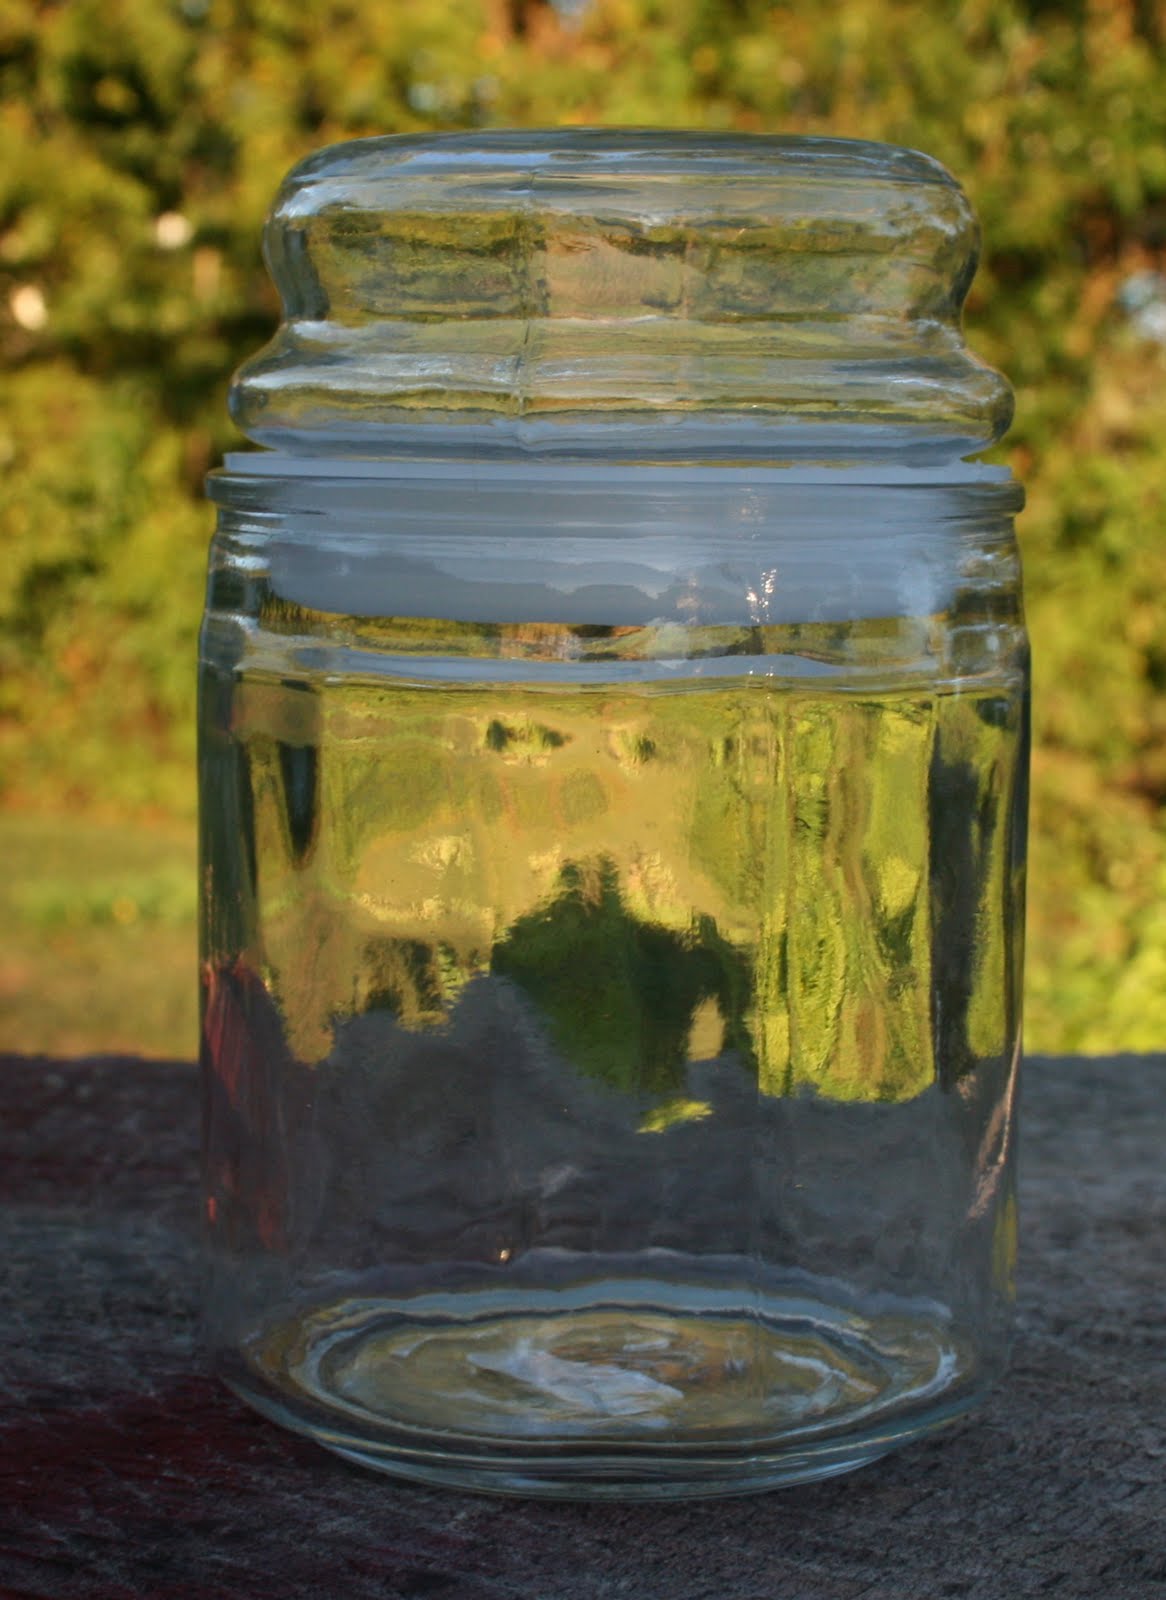
I picked up this plain candy-type jar at one of those warehouse crafty stores. I think it was The Flower Factory in Greenwood, Indiana. You can find them in just about any craft store. If you can't locate one, any jar will work!

Can I just say again how much I love this glass-etching spray paint? (I also used in in this project.) Give it a good coat and let it dry for 15 minutes or so before you decide if it needs more.
By the way, the etching appears as the spray dries. I'd forgotten that bit of information and kept spraying and spraying, waiting for the frosting to appear. In the meantime, the paint was running and dripping on the inside. The great thing about this "paint" is that you can't see the runs and drips when it's dry! Love that!


This is one of those solar light stakes that you can get from just about any lawn and garden department. This smallish one was just $3.
The bottom stake just twists off, leaving you with the light.
By the way, if you want to try this project out the day you make it, it's a good idea to put the light out in the sun that morning.
Ask me how I know.

Put a small amount of floral clay in the bottom of the jar to hold the light in place. Play-Doh might work if you have some of that. It would harden and make a sturdy base. Whatever you decide to use, make sure it's deep enough to keep the light upright.

Put your light in the jar and replace the lid. Wait for dark and think about how totally cool this little light is!

These would be great for a garden, on your porch, or as luminaries lining your sidewalk at Christmas!
I was thinking of putting one in the bathroom to use as a nightlight, but I'd have to take it outside every day for a sunlight recharge. That's way too much work for me. Just keepin' it real.
I think the next one I make is going to be with a half-gallon canning jar I've been saving for a project like this. Star stickers added prior to spraying the jar might make a nice effect! Or maybe I'll use the Silhouette and cut a monogram out of vinyl!
If you make one, be sure to leave the link in the comments. I'd love to see what you come up with!
I'm linking here:
I'm linking here: